
Survive a Psycho Killers: Adam, Capri and Role Access
Compare the killers in Survive a Psycho, including Adam and Capri's scenarios and abilities, and learn how to get the Psycho role.
Last updated:
Capri combines fast street pursuit with close-range attacks and an overhead satellite strike. Use her car to reach survivors, keep track of targets during street fights, and select your strike from the SAT-07 feed.
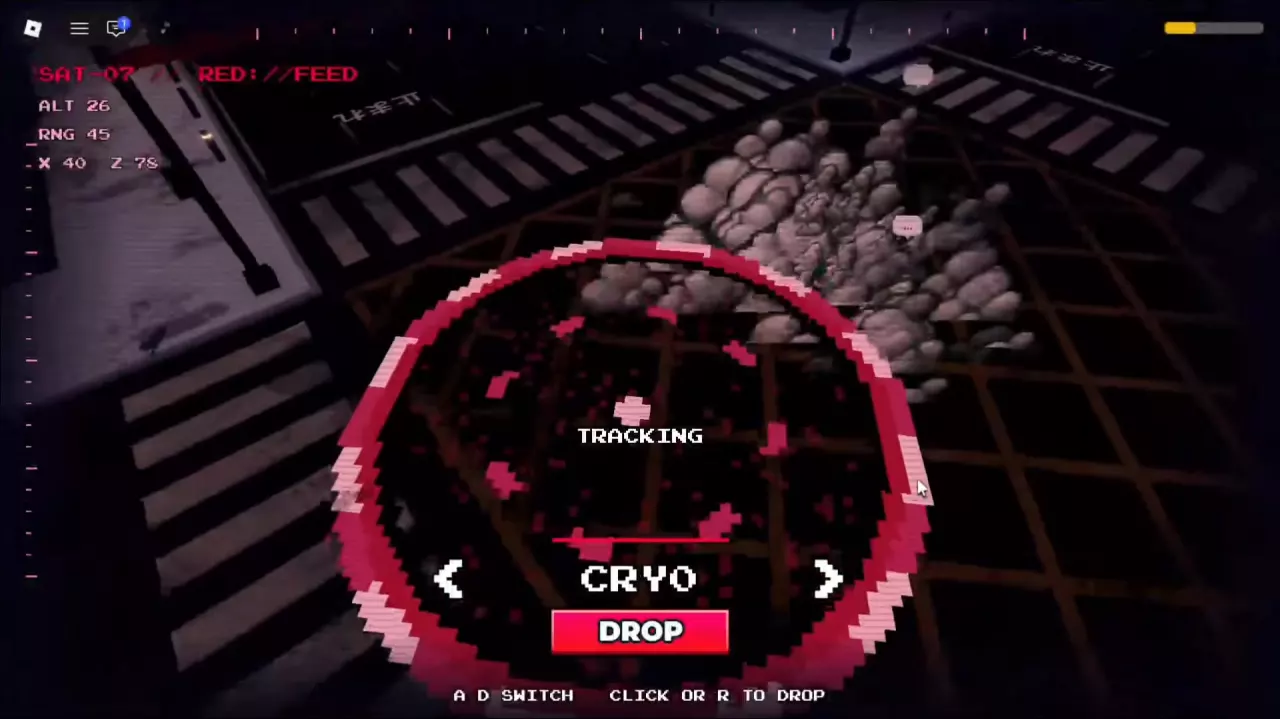
These controls apply when you play Capri as the Psycho in Street Station. The Capri survivor class is a separate role.
| PC input | Ability | Main use |
|---|---|---|
| Click | Redline | Attack nearby survivors |
| Shift | Overdrive | Travel quickly through streets and intersections |
| Q | Thunder | Cast lightning during street combat |
| E | Watch | Use red survivor outlines for awareness |
| R | Satellite | Enter the overhead target feed and select a strike |
Build your pursuit around closing distance, attacking, and finding the next survivor. After an elimination, check the survivors-left counter in the HUNT interface and continue pursuing the remaining players. Read each skill's icon, countdown, or NO SIGNAL label before choosing your next action.
For becoming a Psycho, see killer role access. For general camera setup, see PC controls and camera settings.
Prioritize Overdrive when a survivor has opened a gap along the street network. Its fast travel makes it a useful way to reach the next fight instead of spending the chase running toward a distant target.
Use the car for the approach, then transition into Redline or Thunder once you are fighting near survivors. If you need help recognizing the surrounding areas, use the Street Station map overview.
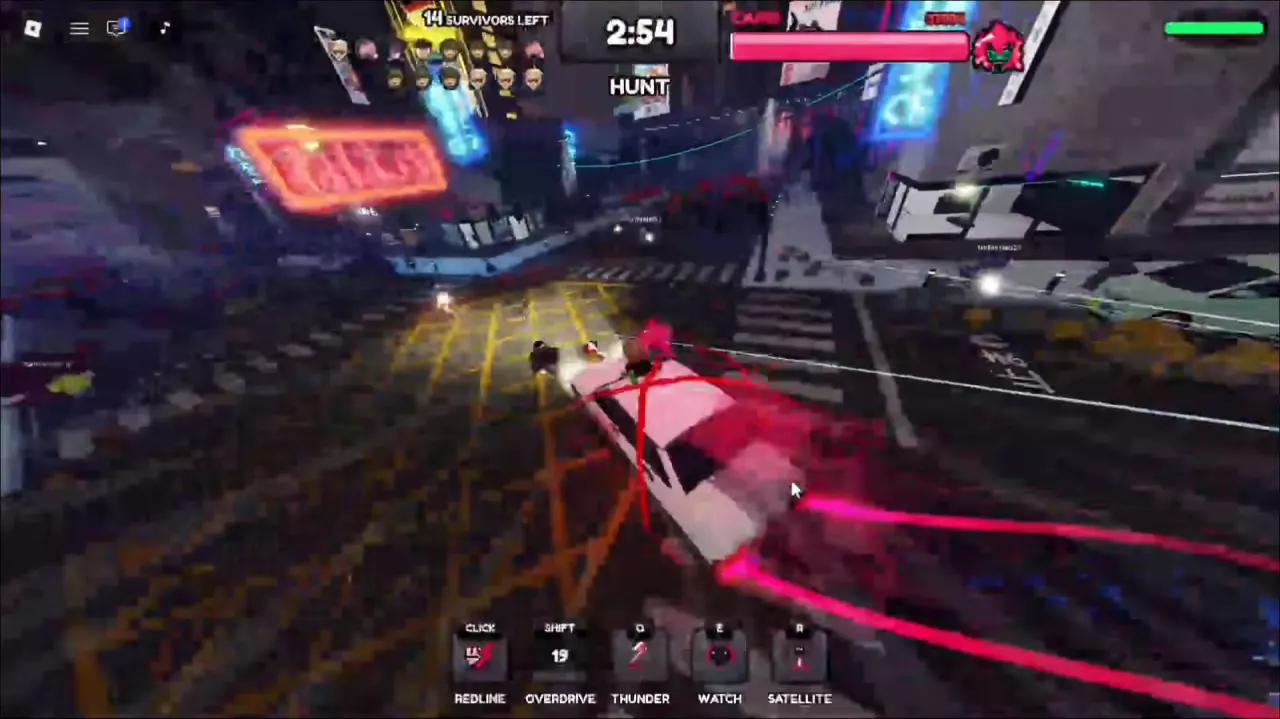
Close in and click to use Redline. Its attack slot briefly shows a countdown after an attack; follow the target while it recovers so you can keep pressure on them.
Use Thunder with Q once you have approached survivors in a street or intersection. A cast is accompanied by a red ground area and pink or red lightning. Continue the chase after casting, and wait for the Q-slot countdown to finish before casting again.
Choose Redline when a survivor is nearby and you can keep up with them. Add Thunder when it is available during the encounter, then keep moving instead of waiting in place for its cooldown.
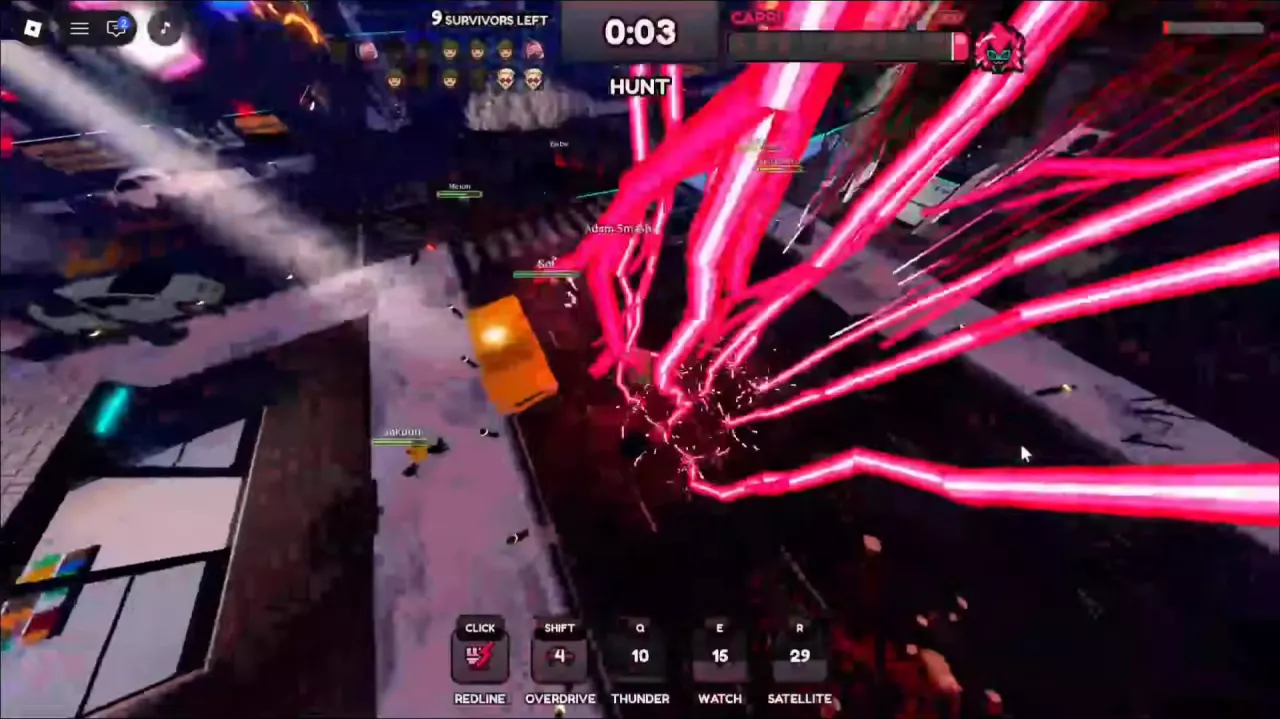
Press E when Watch is ready. During RED://WATCH, multiple survivors can appear as red outlines. Use their positions to choose whom to approach and keep navigating the street as the fight moves.
PLAYBACK is a separately labeled overlay with a progress bar. Street combat and status prompts remain visible beneath it, so keep following the battle. A sequence can display a 7.5-second total on its progress bar; that is the length of that Playback sequence, not a timer for Watch or the red outlines.
SMART LINK LOCK and TRACKED are separate indicators: a red targeting frame or reticle can appear with a distance readout that changes as positions change. See tracking indicators and combat statuses for their meanings.
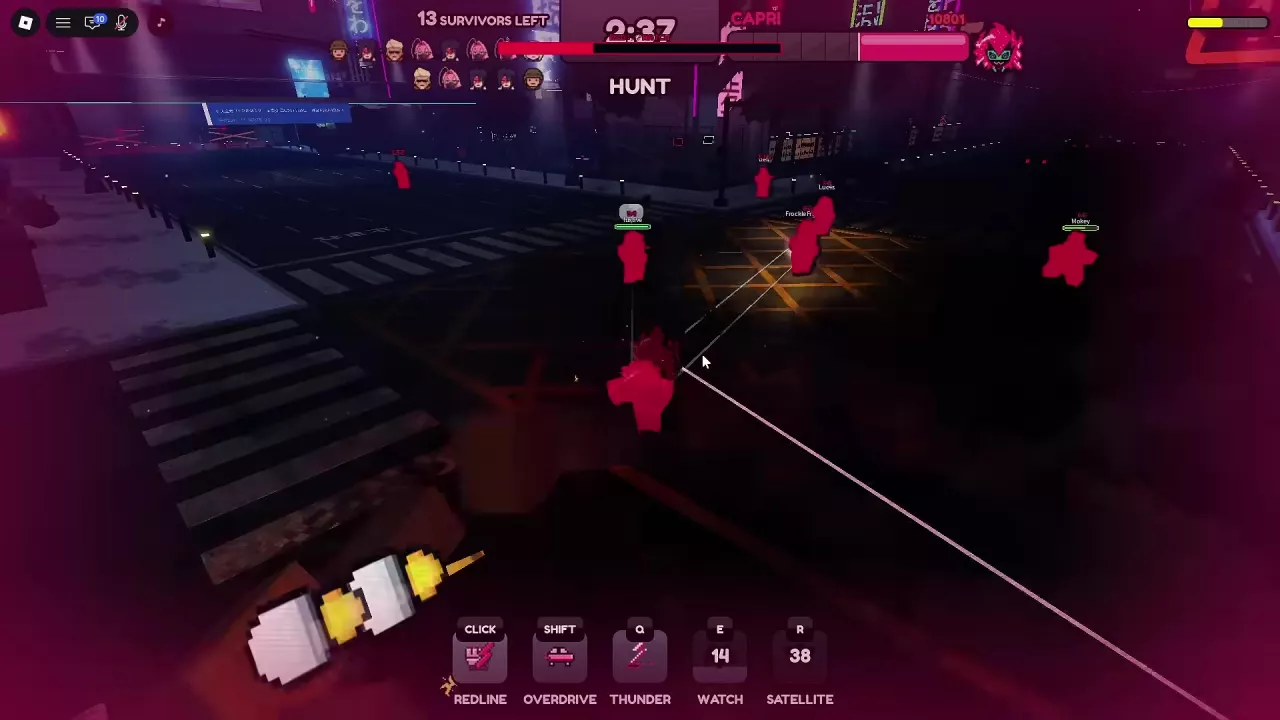
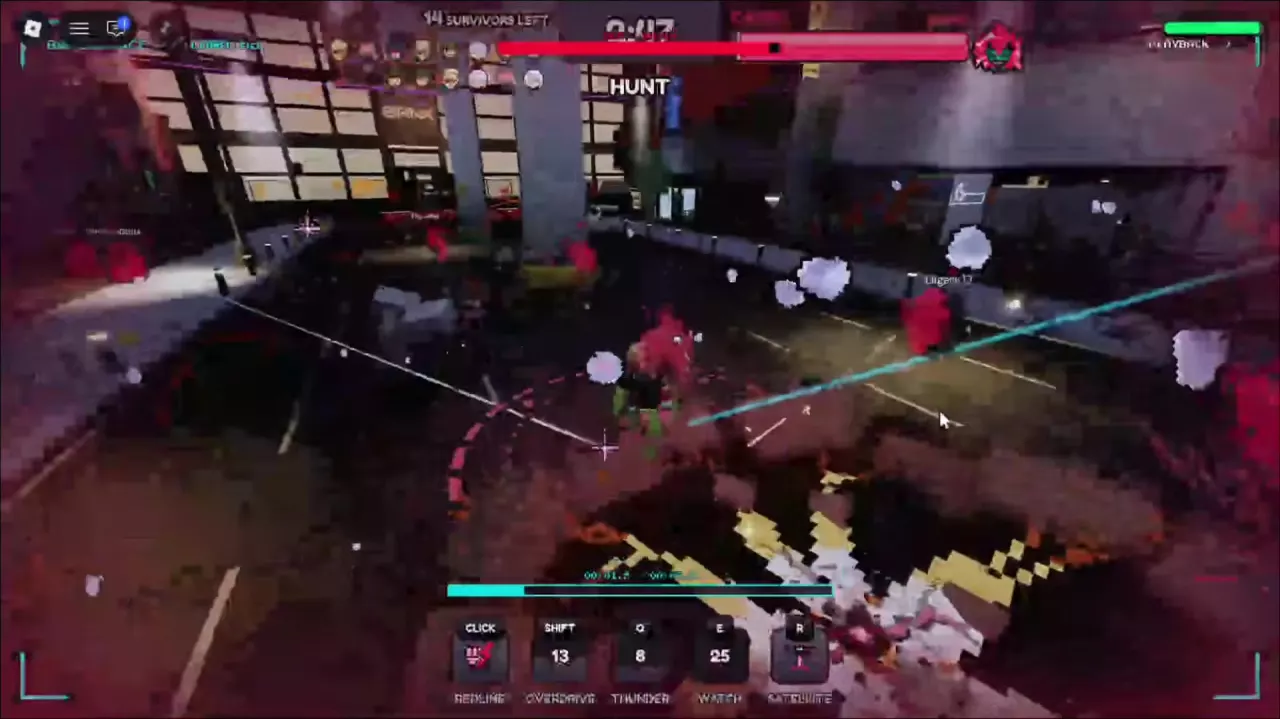
Use Satellite when its slot is ready and clear of NO SIGNAL. The target feed lets you choose a tracked survivor before committing the strike.
If you are on the receiving end of the strike, see how to survive Capri for the survivor-side response.
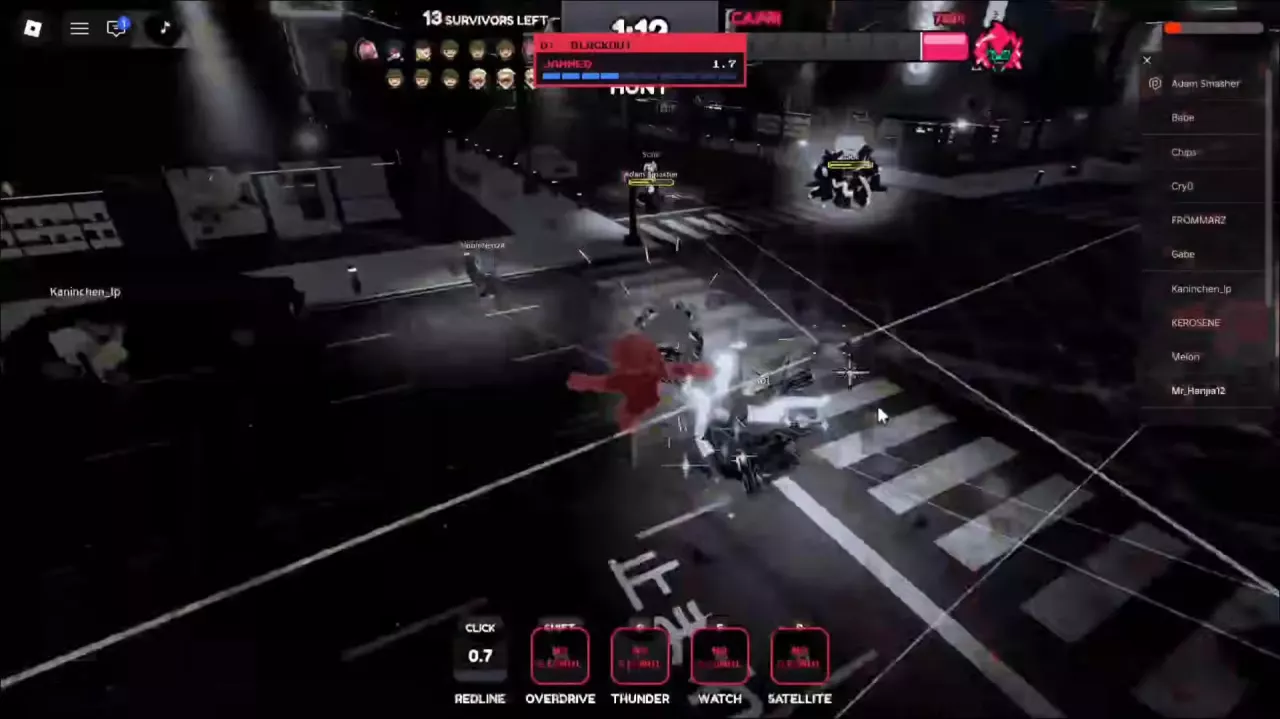
During Blackout, the scene darkens or becomes nearly monochrome and a JAMMED countdown appears. Overdrive, Thunder, Watch, and Satellite can show NO SIGNAL, while Redline retains its attack prompt or cooldown display.
Keep moving and choose your actions from the slots that remain available. When interference ends, check the restored icons: a skill may still have cooldown time remaining. Another Blackout can interrupt the skills again.
Other warnings affect how you read the chase:
These are separate status messages; read the label currently on screen to understand which condition you are facing. The status effects guide explains the prompts across killer and survivor roles.
Compare the killers in Survive a Psycho, including Adam and Capri's scenarios and abilities, and learn how to get the Psycho role.
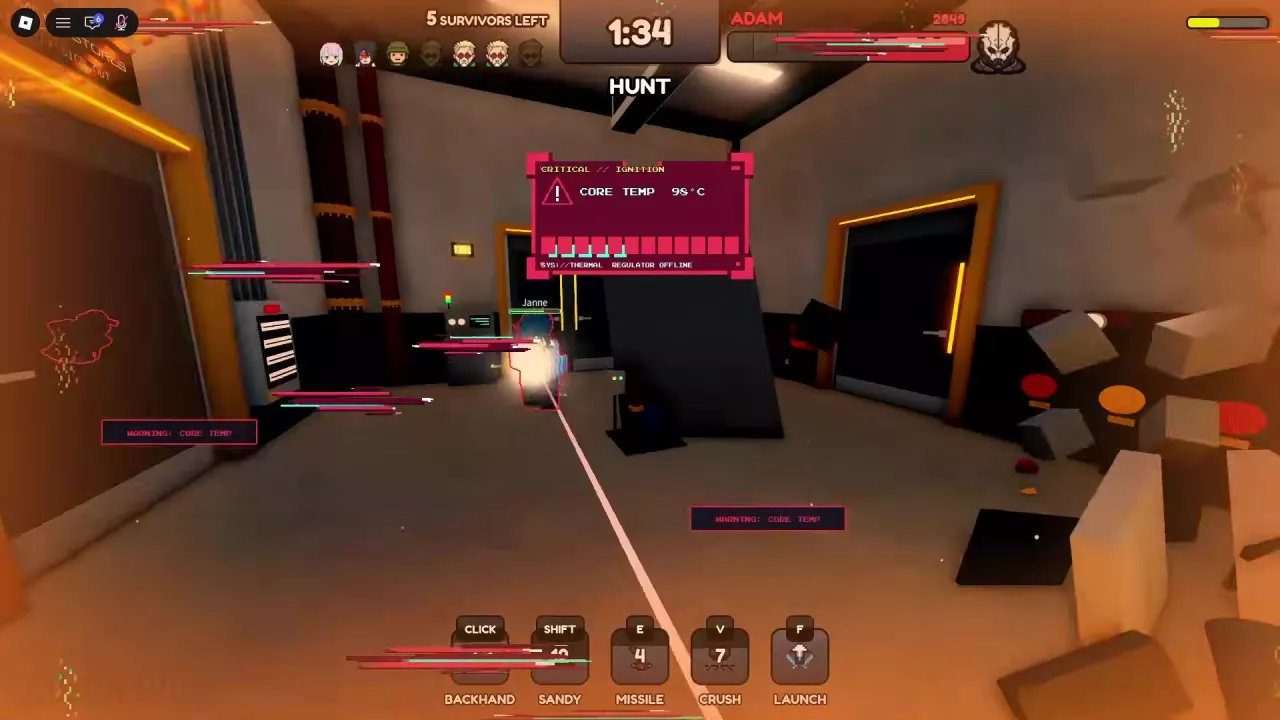
Understand Survive a Psycho status effects, including No Signal, Jammed, movement penalties, Overheat and tracking—and which actions remain available.
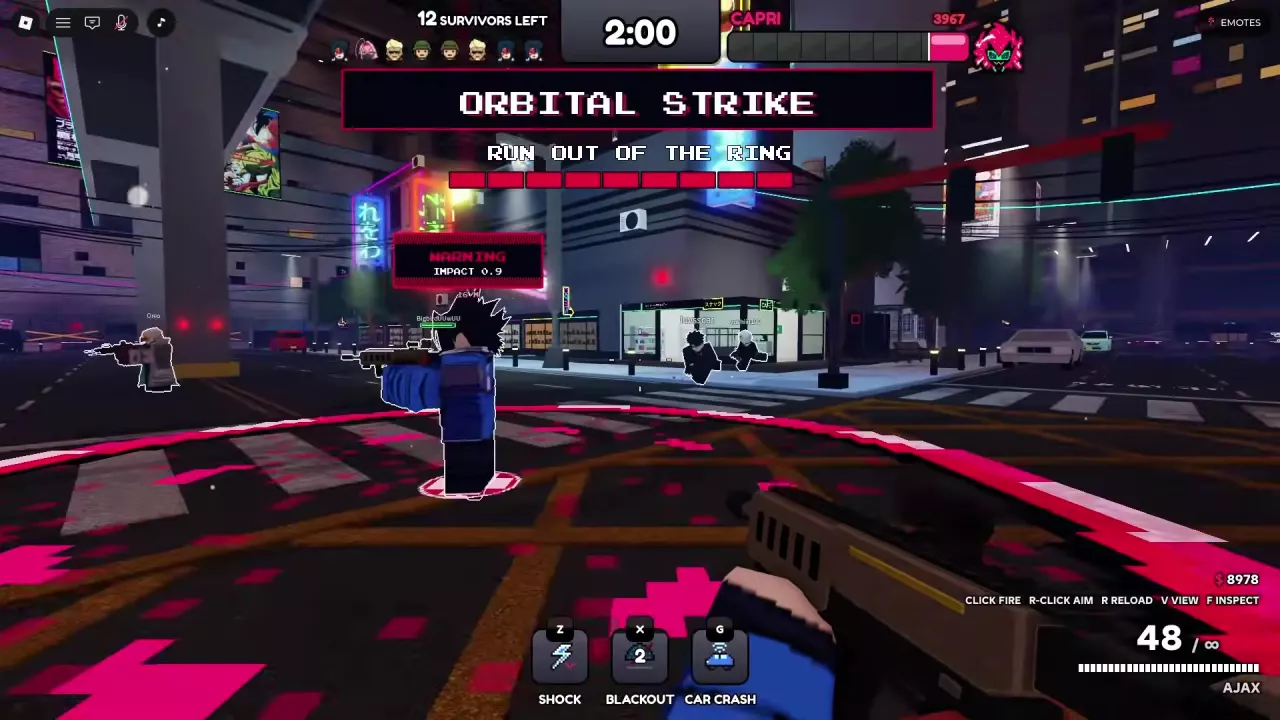
Learn how to beat Capri in Survive a Psycho: focus the real target, reposition during reloads, dodge Orbital Strike rings, and understand her chip.
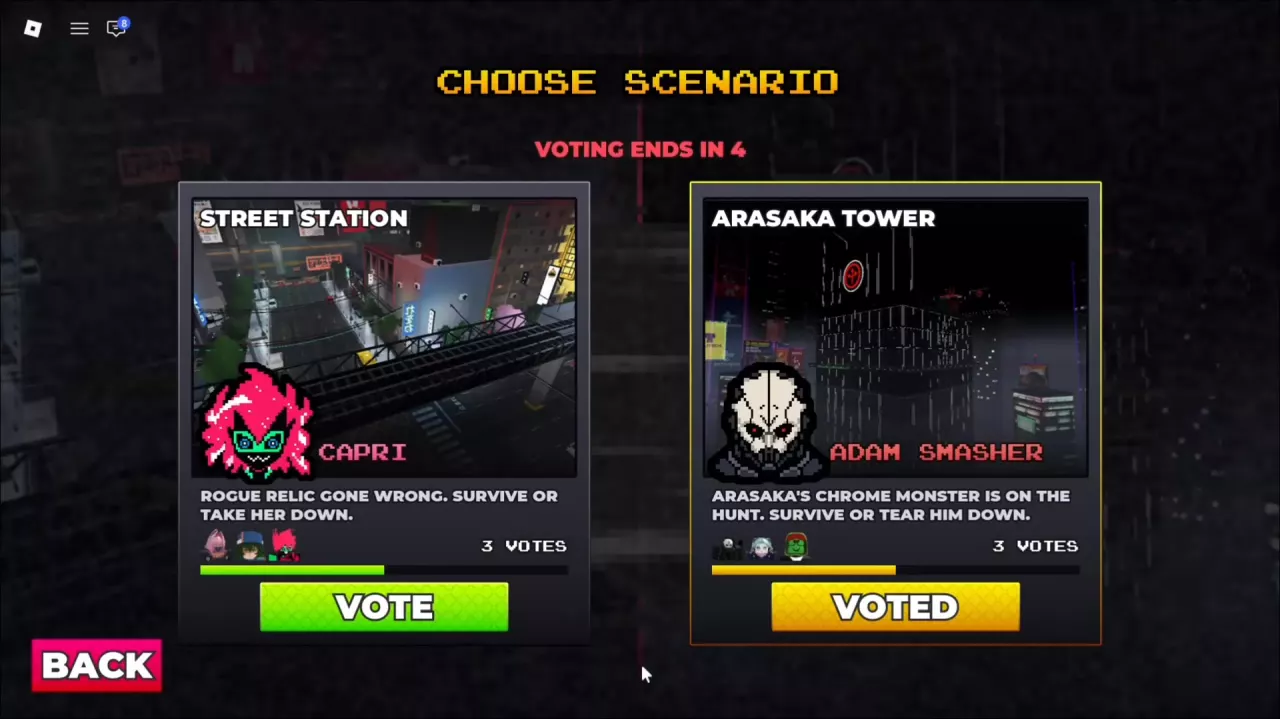
Compare Survive a Psycho maps and their killers, vote for a scenario, and find classes, weapons and other Observation Deck services.
Find Survive a Psycho PC controls for guns, doors, survivor skills, Adam and Capri, plus Shift Lock and first-person settings.