

Survive a Psycho Killers: Adam, Capri and Role Access
Compare the killers in Survive a Psycho, including Adam and Capri's scenarios and abilities, and learn how to get the Psycho role.
Last updated:
Adam Smasher hunts survivors through Arasaka Tower’s rooms, storage aisles and stairways. Winning the chase means turning visible target outlines into a reachable route, using attacks between movements, and adapting when quickhacks interrupt you.
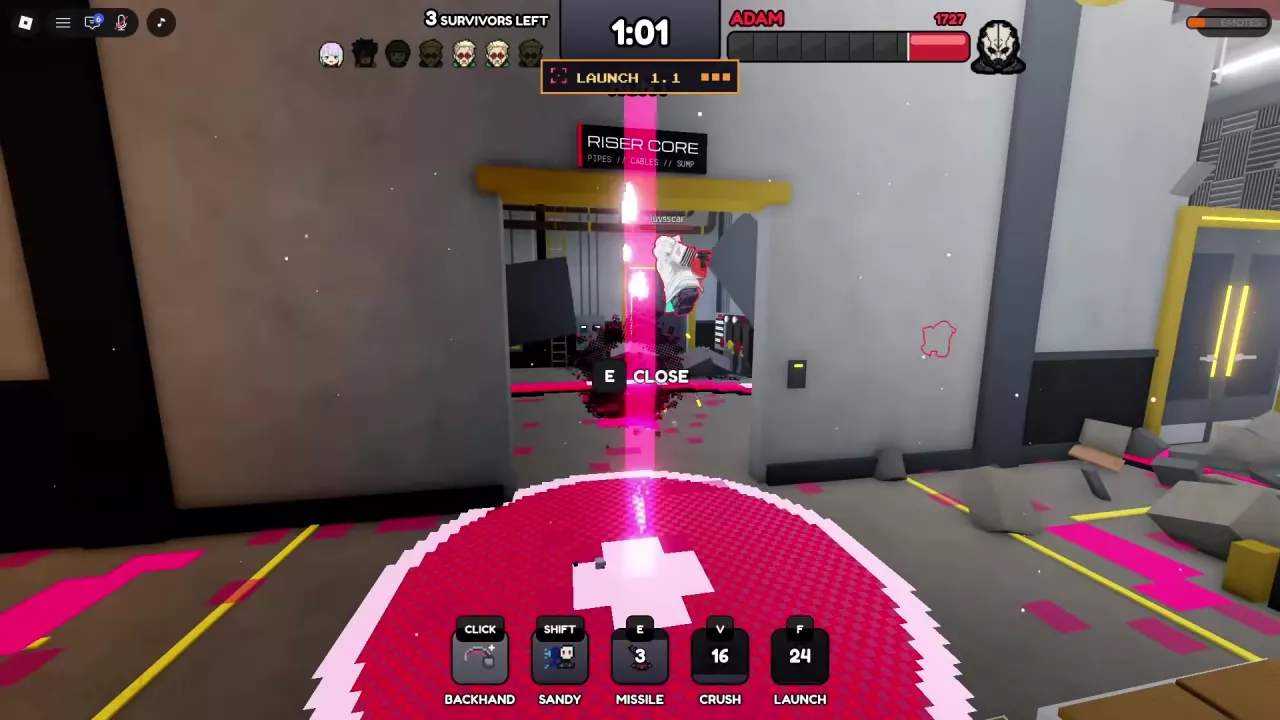
Your objective as Adam is to eliminate the survivors before time runs out. These controls apply while playing Adam on PC; for role access, see the killer overview.
Treat an outline as a location cue: it helps you find a survivor, but you still need a usable path to reach them.
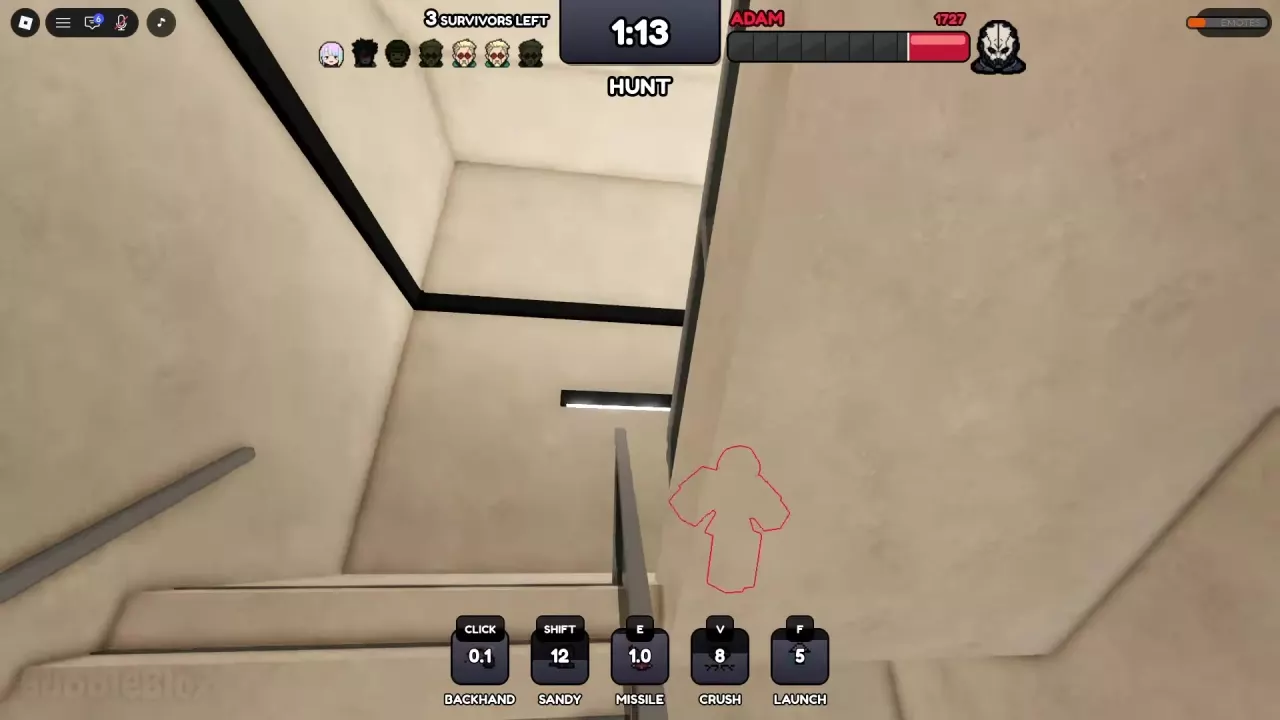
Check that an attack is ready before using it. After activation, its slot displays a cooldown counter; keep pursuing while it counts down.
| PC input | Attack | How to use it and read the feedback |
|---|---|---|
| Click | Backhand | Use your close-range attack when you reach a survivor. Check its cooldown before the next swing. |
| E | Missile | Face the target you are pursuing and activate Missile. An aiming frame and projectile trail accompany the attack. |
| V | Crush | Activate Crush during the pursuit, then watch its slot for the cooldown countdown. |
| F | Launch | Activate Launch and follow the short LAUNCH countdown and highlighted ground area. The view can shift high above the building before returning indoors. |
Use movement between attacks. Backhand needs you to close in, while Missile gives you a projectile attack to work into the chase. When one attack is cooling down, continue along the target’s route and use another available attack when you have an opportunity.
Launch can produce a pink ground area and a vertical light column. Its activation sequence includes a brief countdown, with readings from 1.1 to 0.1 seconds. After the camera returns indoors, locate the survivor again and resume the chase through the room or storage aisles.
For other keyboard bindings and camera options, see PC controls and camera settings.
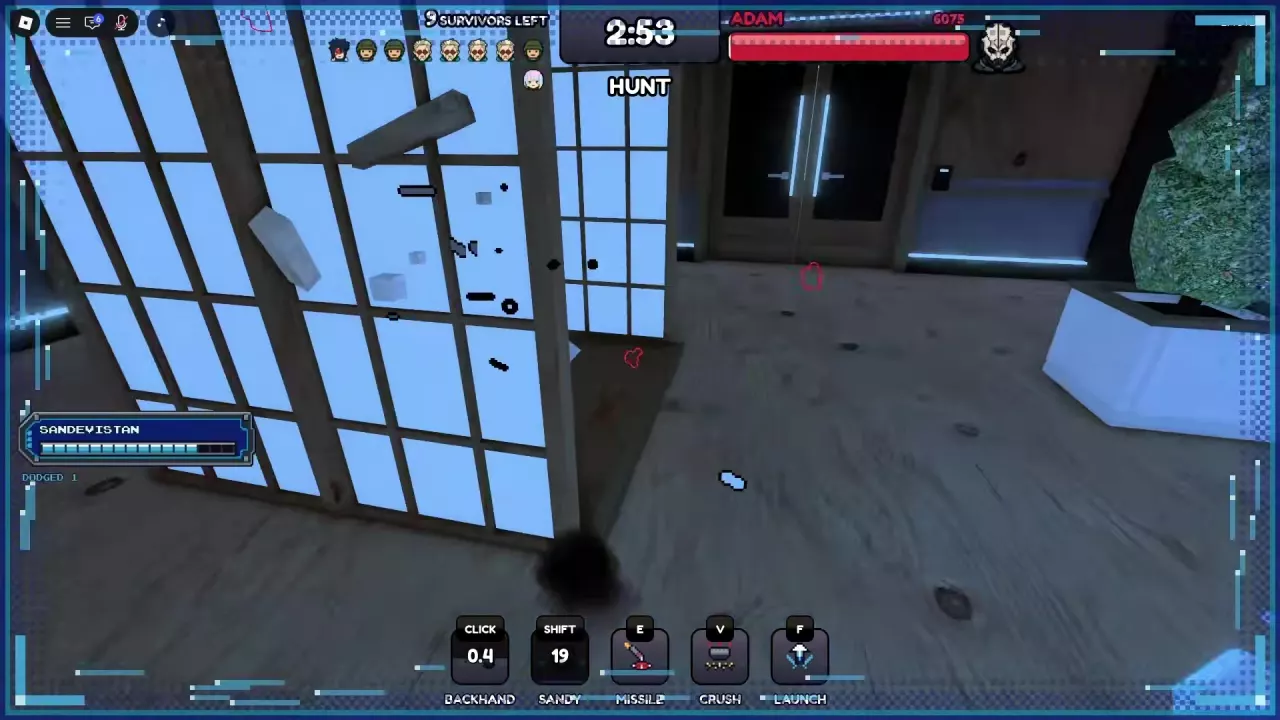
Sandy is Adam’s Shift skill; SANDEVISTAN is the status shown when it activates. Use it while pursuing a target so you can keep moving and attacking during the active state.
Use the meter to follow the active state rather than treating a particular DODGED count as a target to reach. The counter is combat feedback, not a dependable activation instruction for Overclock. Read QUICKHACK: OVERHEAT separately from the Overclock label.
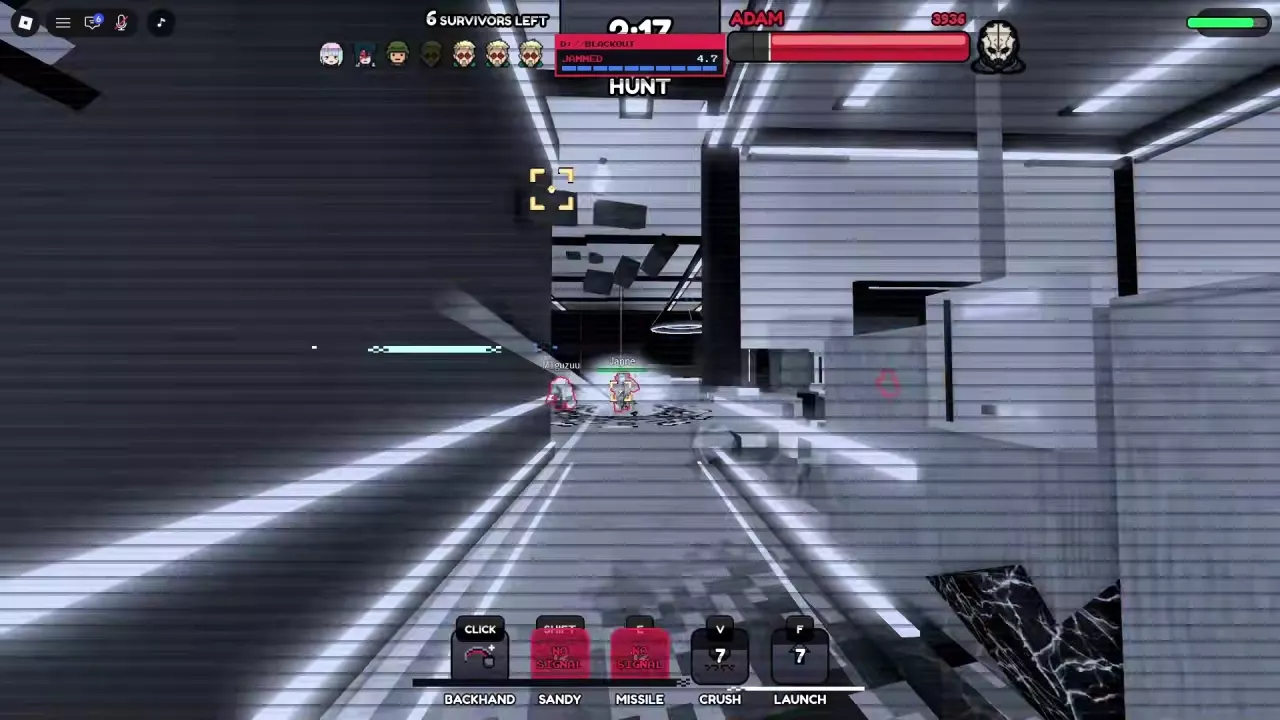
During BLACKOUT, the scene darkens or becomes nearly monochrome and a JAMMED countdown appears. Check the individual skill slots: Sandy and Missile can show NO SIGNAL, while Backhand, Crush and Launch retain their own attack or cooldown displays.
Keep moving toward visible survivor outlines. Backhand can still be used during this interference, so a nearby target remains worth pursuing. For Crush and Launch, follow their current HUD states rather than assuming every attack is ready or every attack is disabled. When interference ends, affected slots return to their icons or cooldown numbers; check the remaining cooldown before using them. A later Blackout can interrupt you again.
Other warnings require different adjustments:
For the wider set of combat prompts and role differences, see status effects.
Adam’s reliance on close-range pressure makes the tower’s walls and floors a major part of each chase. A nearby outline can still require a long route if the survivor is across a wall or on another floor. Prioritize reaching the target over repeatedly attacking toward an obstructed position.
Survivors can use doors, shelves, floor changes and interference to make you lose ground. For that opposing perspective, see how to survive Adam Smasher.
Compare the killers in Survive a Psycho, including Adam and Capri's scenarios and abilities, and learn how to get the Psycho role.
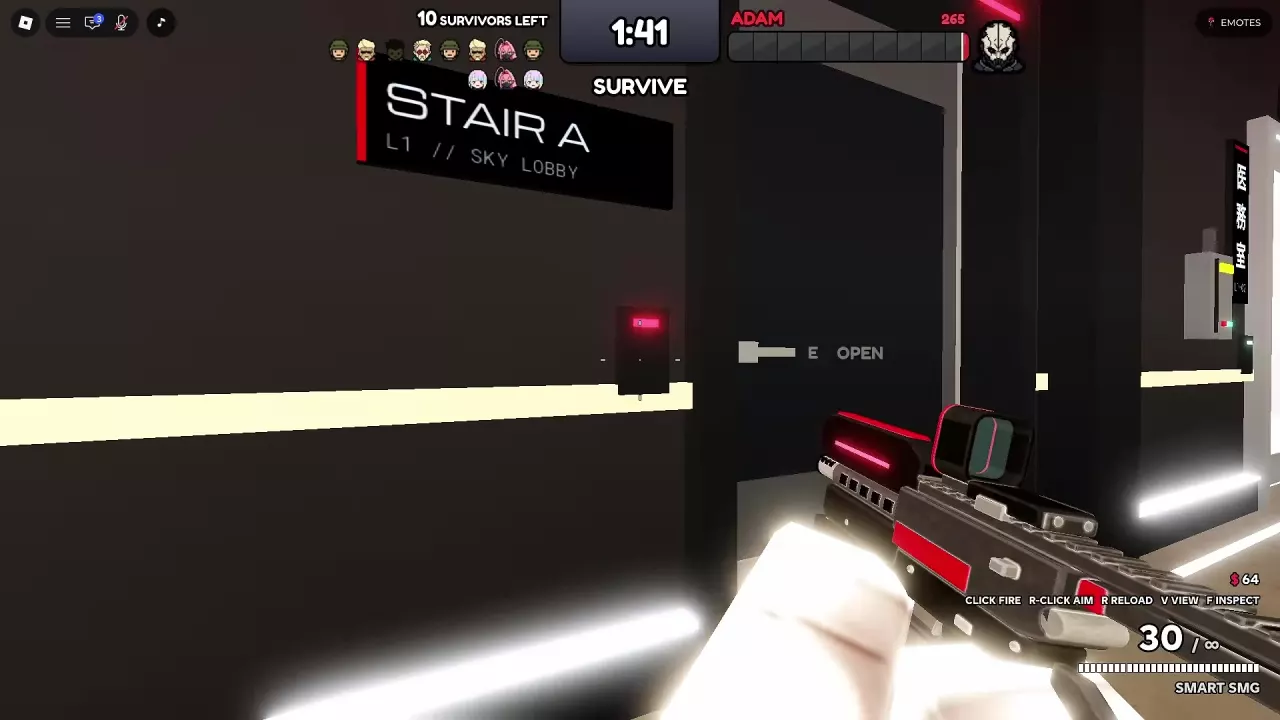
Navigate the Survive a Psycho Arasaka Tower map using floor signs, the Library, Sky Lobby, Mail Room and routes to storage.
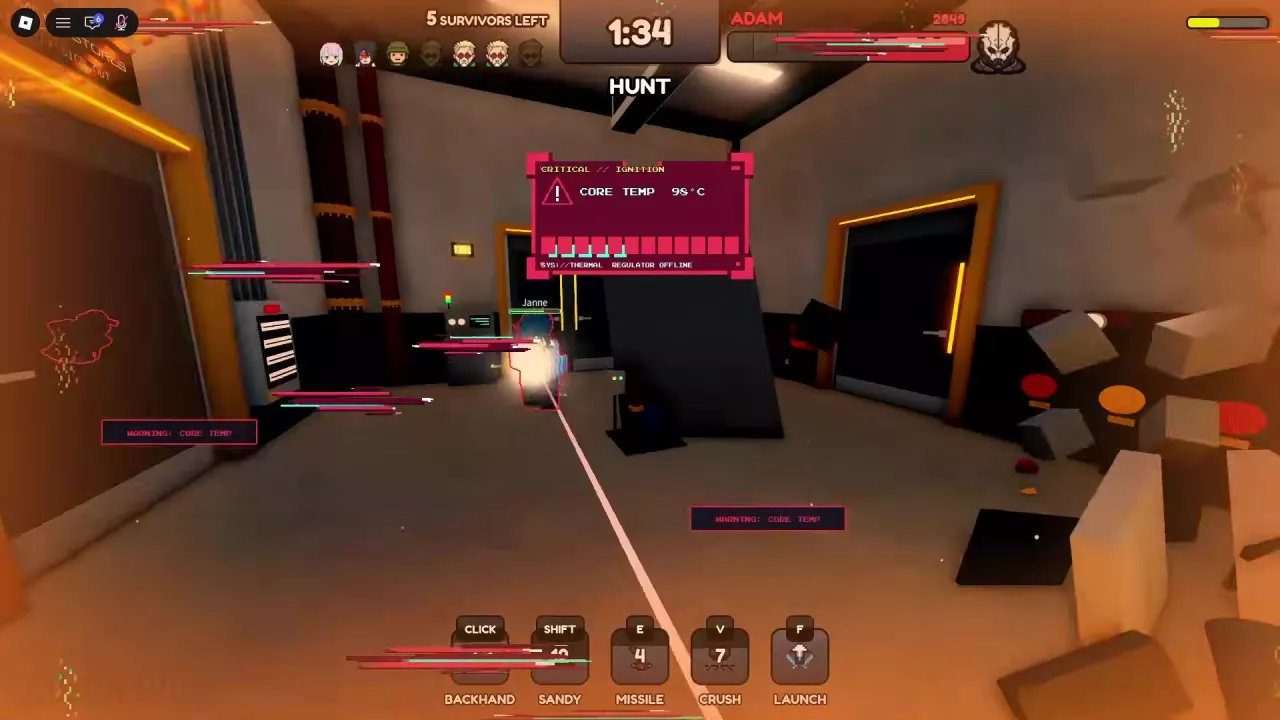
Understand Survive a Psycho status effects, including No Signal, Jammed, movement penalties, Overheat and tracking—and which actions remain available.
Survive Adam Smasher in Survive a Psycho with team fire, tower routes, disruption skills, smoke recovery, and smart retreats.
Find Survive a Psycho PC controls for guns, doors, survivor skills, Adam and Capri, plus Shift Lock and first-person settings.